Follow these steps to manually upload your session video clip.
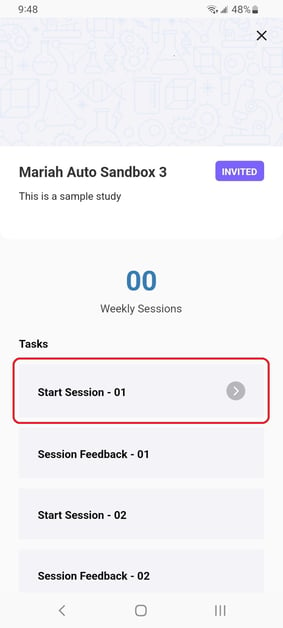
- Open the Pulse Voices app.
- Select the session you need to upload a video clip for.
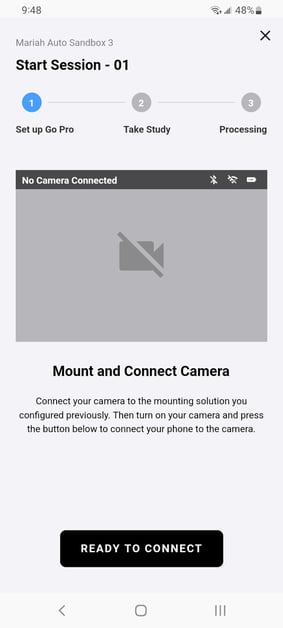
- Complete stage 1. Set up Go Pro. Select Ready to Connect.
- After you successfully connect your GoPro, stage 2. Take Study displays. Choose Select File.
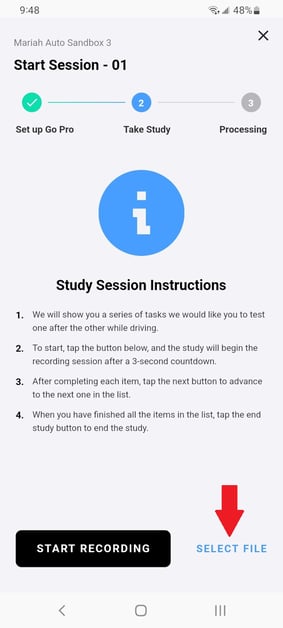
- From your Camera Videos, select the video clip you need to upload.
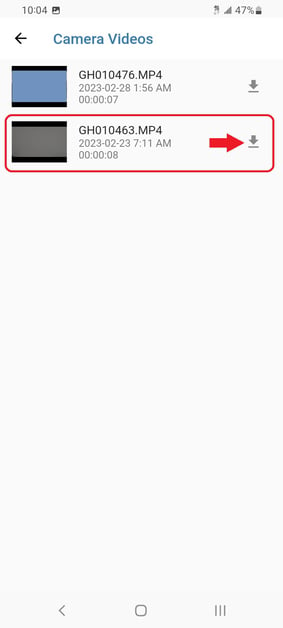
-
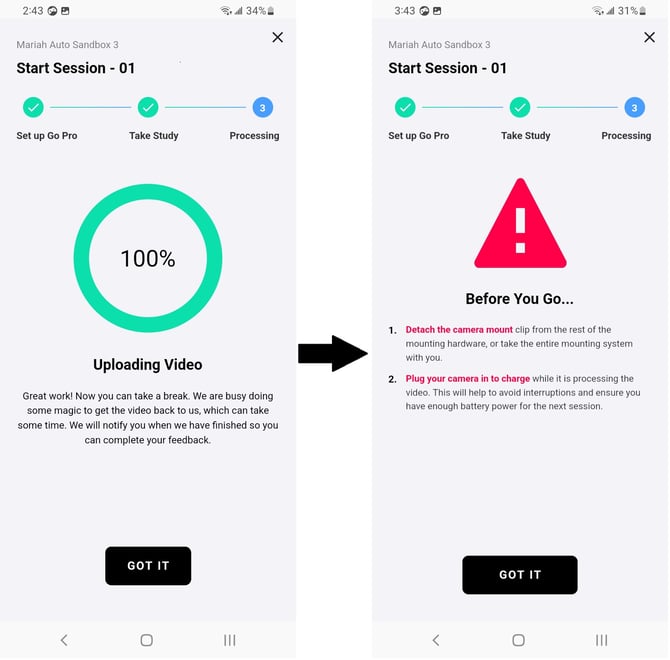
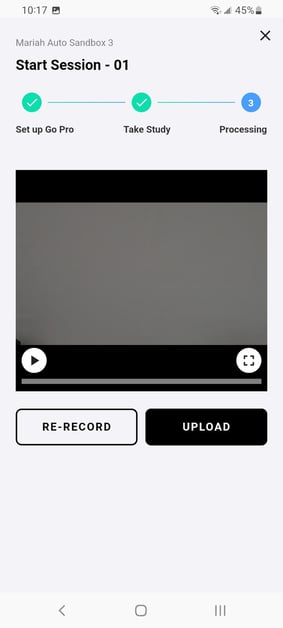
Once your clip has uploaded, stage 3. Processing displays with two options:
-
Select Re-Record to go back to stage 1. Set up Go Pro to restart the session. Select this option if you selected the incorrect video to upload and repeat steps 3-6.
-
Select Upload to proceed with uploading your video clip to your session.
-
- Once the video upload is complete, select Got It to continue.
Review the Before You Go... instructions and then complete your session upload by selecting Got It again.
Note: Ensure you complete your session by selecting Got It and not by exiting the screen. Selecting the exit button will generate a pop-up asking if you want to restart your session.